Hawaiian feather leis are a stunning example of the rich cultural heritage of the native people of Hawaii. These exquisite pieces of jewelry, painstakingly crafted by hand, have been a symbol of beauty and elegance for generations.
Making these detailed leis involves using feathers from local birds, chosen and arranged to make a beautiful display. People wear leis for special events like weddings and graduations to add tradition and charm. People also wear them for hula performances.
This article will explore how native Hawaiian traditionally make Hawaiian feather leis. This time-honored craft is a labor of love, requiring patience, skill, and attention to detail. Each lei is a unique work of art that showcases the beauty of the islands and the value of traditional skills.
Whether you're new or experienced, making a feather lei can be fun. Try using different types of feathers to create your own unique lei.
People have made Hawaiian feather leis for centuries, each one having its own special history and meaning. In the past, people wore leis to show respect and friendship. Feathers in the lei had different meanings and messages.
Today, people wear feather leis for many different events, like parties and fancy occasions, not just formal events. Make your own Hawaiian feather lei to honor Hawaii's culture and add a personal touch to your style.
The feather lei is a Hawaiian decoration with a long history. Royalty wore it in the past to show status and beauty. People have changed how they make feather leis over time, turning it into a tradition that people still practice today.
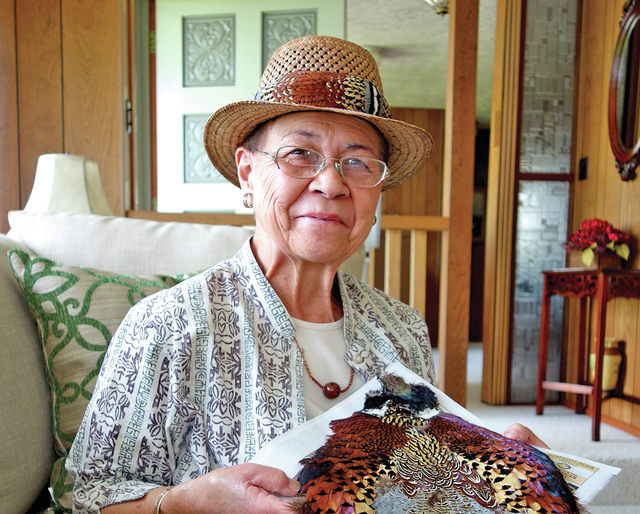
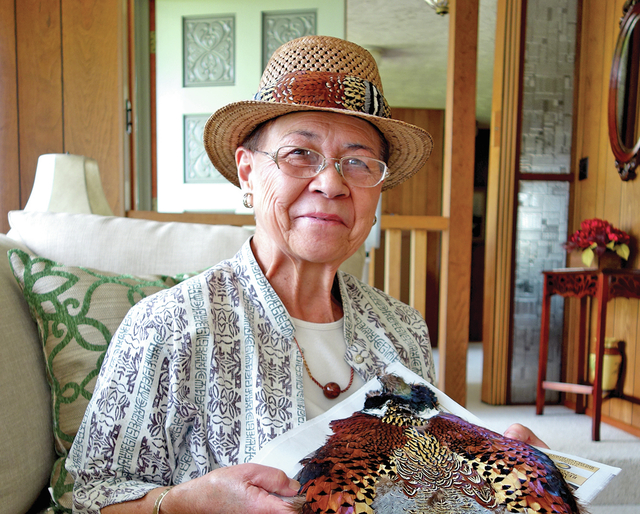
In Waimea, Leo Kimura Mills is skilled at making feather leis, preserving and promoting this traditional art form. Leo carefully makes beautiful feather leis with respect for their cultural importance, paying close attention to detail. His creations carry a sense of history and tradition.
Leo creates beautiful feather leis using feathers from local birds and handcrafted techniques, making them true works of art. Every lei is special, showing Hawaii's beauty and the artist's talent and hard work.
Leo continues the tradition of feather lei making, passing it down to future generations through her work. She loves making things and is truly good at it, especially when making traditional Hawaiian crafts.
Materials Needed
Prior to starting, you must collect the required supplies including bird feathers. These include:
- Feathers (from native birds such as the ‘I‘iwi, ‘Apapane, and ‘O‘o) from the Hawaiian islands
- String or twine: string literal or tail feathers
- Scissors
- Needle
- Beads (optional)
Step 1: Prepare the Feathers
The first step in making a Hawaiian feather lei is preparing the feathers. We carefully select and clean the feathers.
They then sort them by size and color. Finally, they are ready to use in the final product. Careful preparation is important to make sure the lei looks beautiful and lasts a long time.
Start by cleaning each feather carefully to remove dirt, dust, and debris from the delicate plumes. To clean feathers, gently wash them with mild soap and water, being careful not to harm the delicate feathers.
Once cleaned, the feathers need to be completely air-dried before incorporating them into the Hawaiian leis creation process. This makes sure the feathers are clean, hygienic, and in great shape for making a lovely and real Hawaiian feather lei.
Once they are dry, use a comb to gently straighten the feathers.
Step 2: Cut the String
To begin creating your lei, start by selecting a piece of string or twine that is suitable for your desired length. Consider how long you want the final product to be, as this will determine the length of string you will need. Traditional leis are typically 36 inches long, but you can adjust the length to suit your personal style and taste. The length of the string is crucial in determining the overall size and appearance of your lei, so choose wisely.
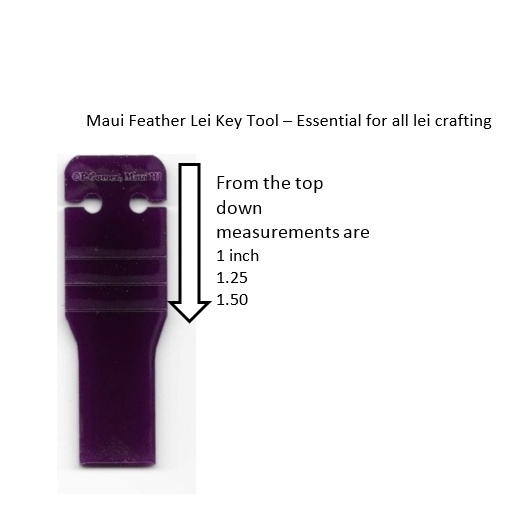
Step 3: Thread the Needle
Start by putting the string through the needle. Make sure the string is long enough to go around your neck comfortably, with a few extra inches at the end. This extra length will come in handy for tying the ends of the lei together once you have finished stringing the flowers. Make sure to secure the end of the string by tying a knot to prevent it from coming loose while you work on constructing the lei.
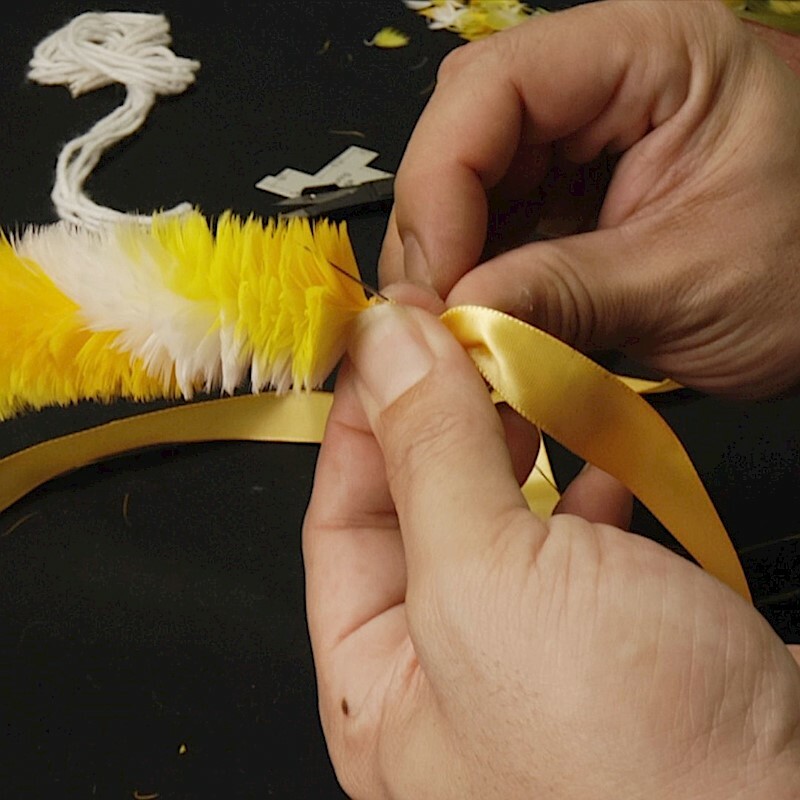
Step 4: Begin Stringing the Feathers
Take one feather and place it on the string, about 2 inches from the end. Fold the string over the feather and tie a knot to secure it in place. Continue adding feathers to the string, spacing them about 1 inch apart. You can also add beads in between the feathers for added decoration.
Step 5: Tie the Ends Together
To create your lei, start by adding all the feathers onto the string. Make sure to space them out evenly and alternate colors for a more visually appealing look.
Once all the feathers are in place, carefully tie the ends of the string together to form a circle. This circular shape will serve as the base of your lei, providing a sturdy foundation for the rest of the design.
Make sure the knot is secure so that the feathers do not come loose. This base will allow you to easily add additional elements, such as flowers or beads, to complete your lei.
Step 6: Add More Feathers
To make your lei fuller and more visually appealing, you can easily add more feathers to the base. Start by tying a new string securely to the base of the lei. Next, keep adding feathers the same way as before, spacing them out evenly and layering them for a fuller appearance. Adding more feathers can make a fancy lei that will be a beautiful statement piece for any event.
Don't be afraid to experiment with different colors and sizes of feathers to create a unique and personalized design. With a little extra effort, your lei will be sure to stand out and impress everyone who sees it. You can also add different types and colors of feathers to create a unique and personalized lei.
Step 7: Finishing Touches
After putting all the flowers on the lei, check to see if it looks full and nice. Make any adjustments as needed to ensure that the lei looks balanced and visually appealing.
Once you are satisfied with the fullness of the lei, it is time to secure it into a circle shape. Take the two ends of the string and tie them together in a tight knot. Make sure the knot is secure so that the lei does not come apart.
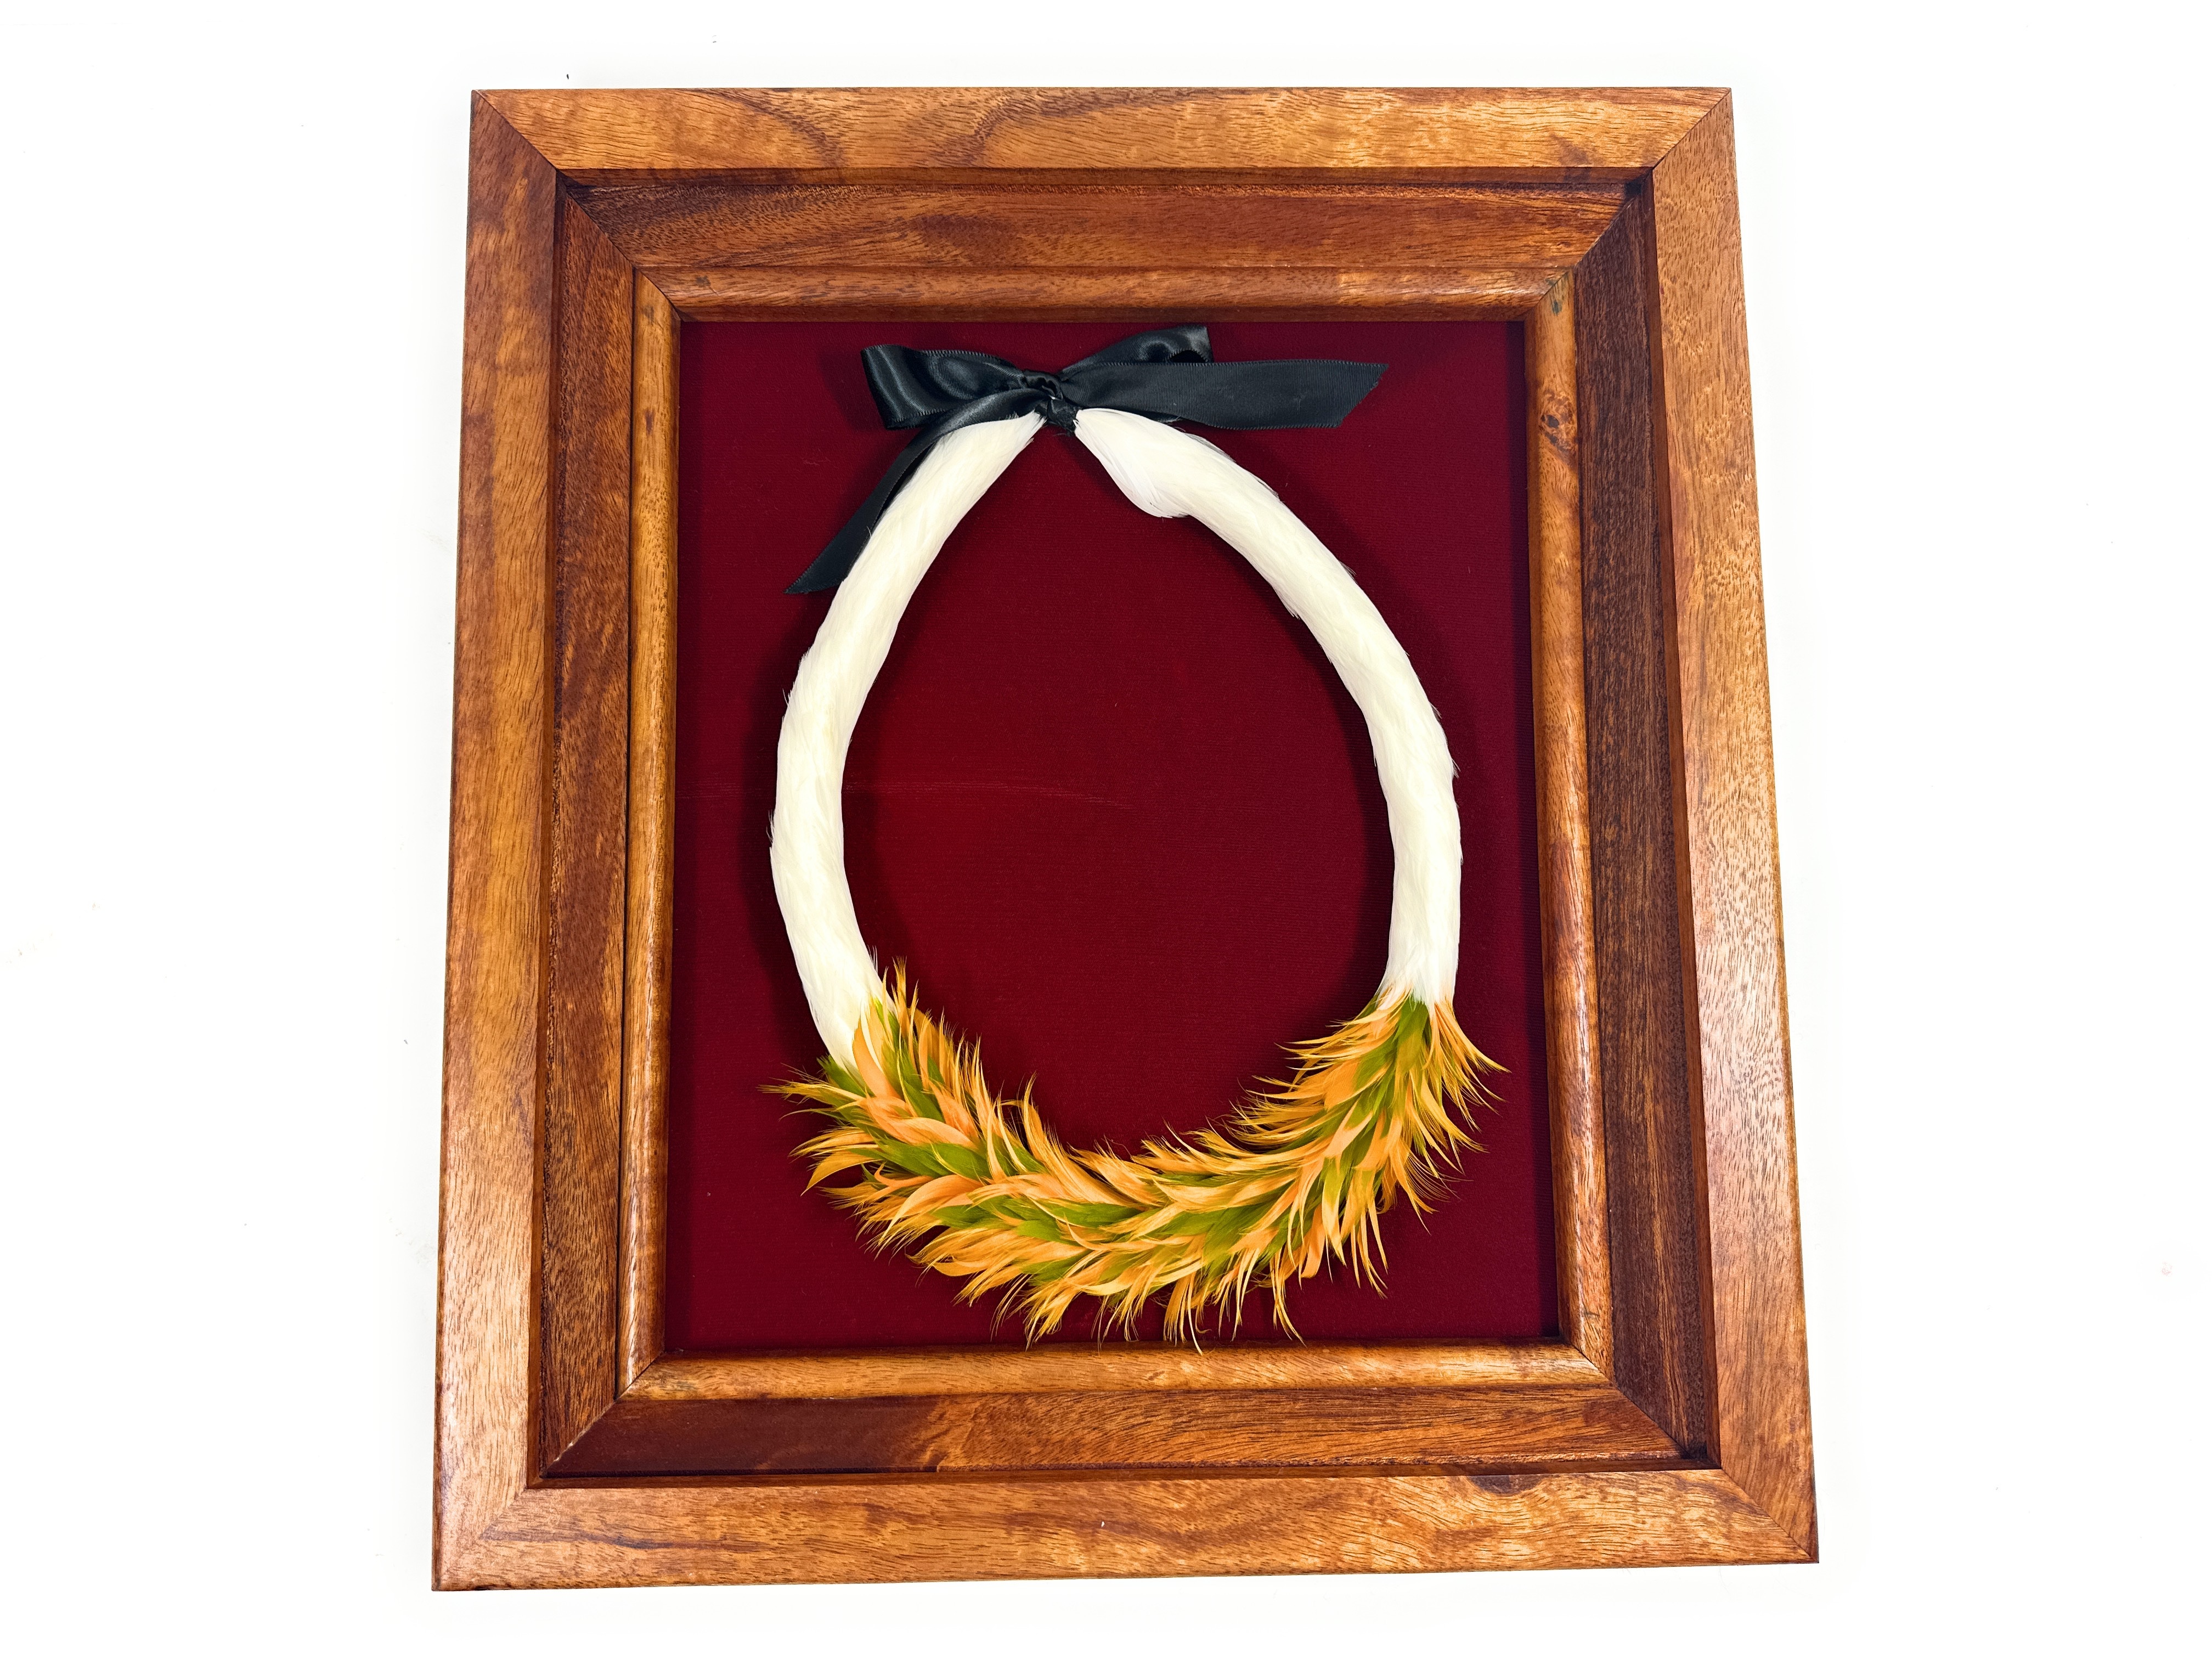
To add a finishing touch to your lei, consider adding a bow or ribbon to cover the knot. This not only adds a decorative element to the lei but also helps to hide any imperfections in the knot. Choose a ribbon or bow that complements the colors of the flowers in the lei for a cohesive look.
In general, making a lei is an enjoyable and imaginative activity that lets you showcase your unique flair. If you are making a lei for a special event or just for fun, remember to enjoy the process. Appreciate your beautiful creation once you finish it.
Congratulations, you have now made your own traditional Hawaiian feather lei! These leis are not only beautiful but also hold cultural significance in Hawaiian culture. Wear your lei with pride and enjoy the beauty and tradition it represents.
Tikimaster.com also offers traditional feather leis in koa shadowbox that you can display in your home or office.
Have you ever made a traditional Hawaiian feather lei? Share your experience in the comments below. Mahalo!


